Every morning my mom waters the plant. She has to water them every day and sometimes in summer, she must provide water twice a day.
In winter plant needs water when necessary.
Solution:
For the above problem, I developed this project using raspberry pi pico w.
Here is what it does:
- It connects to the WiFi router. The wifi router allocates a fixed IP address. For that, I created a new entry in the DHCP bindings of the router.
- When you visit the IP address 192.168.1.101
- It samples the soil moisture sensor through the ADC. And display an HTML page that shows the status of ADC and the onboard LED.
- The HTML page also has a button for turning on the pump.
I have kept it manual. - When the PUMP ON button is pressed the water pump is turned ON. The water pump is connected via the L298n module. Which is controlled by a PWM signal of 1Khz frequency. The duty cycle is slowly increased to 75%.
There is a timeout of 10 Seconds. If the timeout is reached the water pump will be turned off.

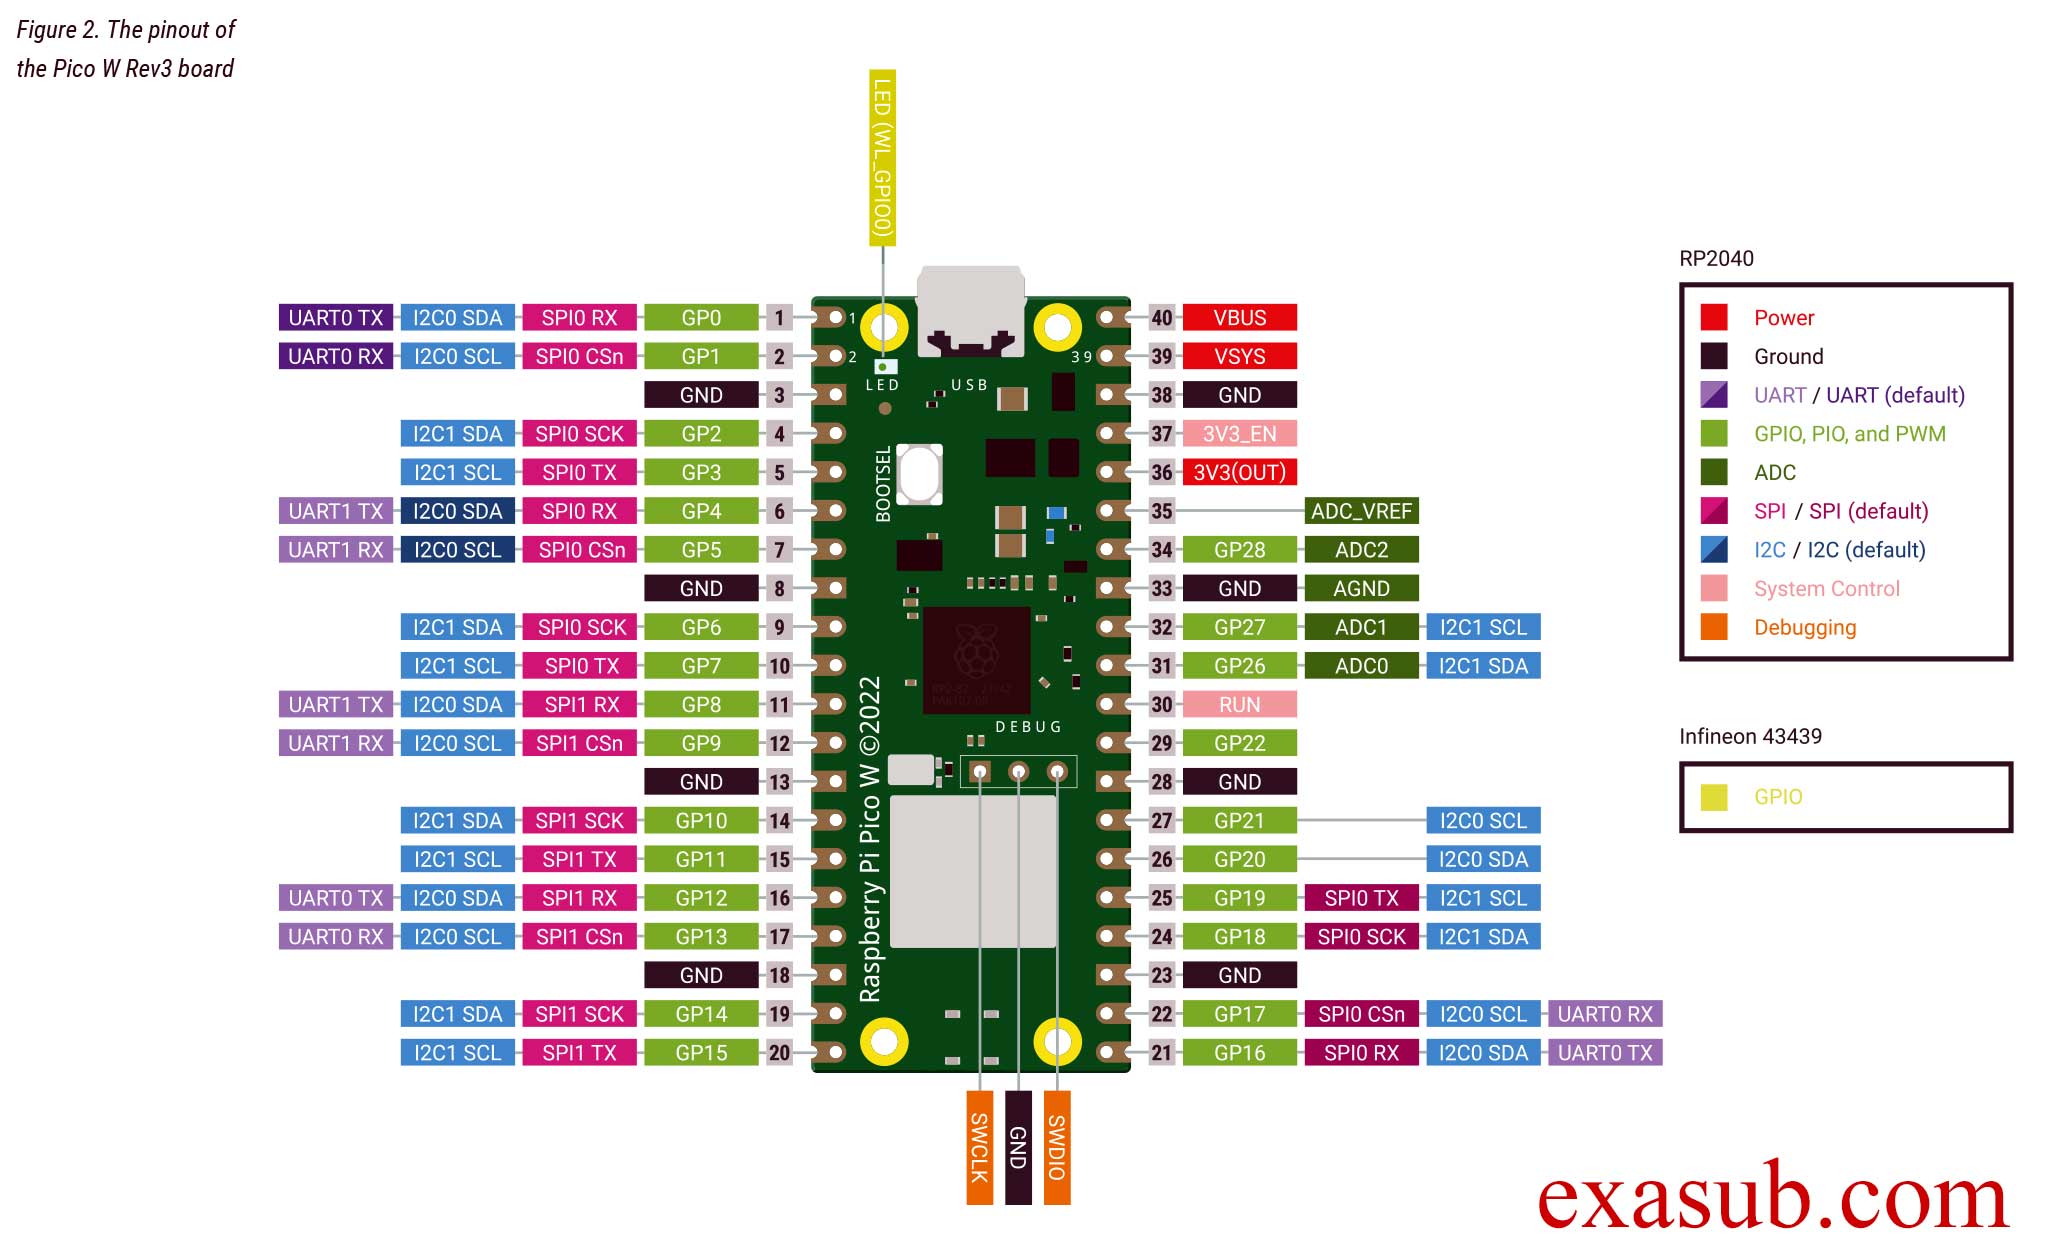
Schematic Diagram

Micropython Code
import network
import socket
import time
from time import sleep
from picozero import pico_temp_sensor, pico_led
import machine

ssid = 'Abhay'
password = 'AK26@#36'
'''
# Pin GP9 (physical pin 5) on PicoZero
GPIO_PIN = 9

# Set up the GPIO pin as an output
pin9 = machine.Pin(GPIO_PIN, machine.Pin.OUT)

# Turn off the GPIO pin
pin9.off()
'''
GPIO_PIN_9 = machine.Pin(9)
pwm9 = machine.PWM(GPIO_PIN_9)


def ADC():
    adc = machine.ADC(0)  # Initialize ADC on pin A0
    sensor_value = adc.read_u16()  # Read the analog value from the sensor
    # Add your code to process and display the sensor value as per your requirements
    #print(sensor_value)
    #time.sleep_ms(500)  # Delay between readings (adjust as needed)
    #sensor_value = 18756
    percentage = 100 - ((sensor_value / 65535) * 100)
    #print(f"sensor_value: {sensor_value} percentage: {percentage}")
    return sensor_value,percentage


def gen_pwm(duration, timeout):
    # Set PWM frequency
    pwm9.freq(1000)  # Set frequency to 1 kHz

    start_time = time.ticks_ms()  # Get the initial timestamp
    pump_started = False

    while time.ticks_diff(time.ticks_ms(), start_time) < timeout:
        # Check water level using ADC
        ADC_Read = ADC()
        water_level = ADC_Read[1]
        #adc.read()

        if not pump_started and water_level < 50:
            # Start the pump by gradually increasing the duty cycle
            for duty in range(0, 32767, 100):
                pwm9.duty_u16(duty)
                time.sleep_ms(duration)  # Adjust the delay as needed for smooth transition
                ADC_Read = ADC()
                water_level = ADC_Read[1]

                if water_level >=50 :
                    break
            pump_started = True

        if water_level >= 50 or pump_started and water_level <= 0:
            # Stop the pump by setting the duty cycle to 0
            pwm9.duty_u16(0)
            break

    # Stop the PWM signal
    pwm9.duty_u16(0)

def connect():
    #Connect to WLAN
    wlan = network.WLAN(network.STA_IF)
    wlan.active(True)
    wlan.connect(ssid, password)
    while wlan.isconnected() == False:
        print('Waiting for connection...')
        sleep(1)
    ip = wlan.ifconfig()[0]
    print(f'Connected on {ip}')
    return ip

def open_socket(ip):
    # Open a socket
    address = (ip, 80)
    connection = socket.socket()
    connection.bind(address)
    connection.listen(1)
    return connection

def webpage(temperature, state,user_value):
    #Template HTML
    ADC_Value = ADC()
    html = f"""
            <!DOCTYPE html>
<html>
<head>
    <meta name="viewport" content="width=device-width, initial-scale=1.0">
</head>
<body>
    <form action="./lighton" style="display: flex; justify-content: center;">
        <input type="submit" value="Light on" style="font-size: 40px;" />
    </form>
    <form action="./lightoff" style="display: flex; justify-content: center;">
        <input type="submit" value="Light off" style="font-size: 40px;" />
    </form>
    <p style="font-size: 20px;">LED is {state}</p>
    <p style="font-size: 20px;">Temperature is {temperature}</p>
    <p style="font-size: 20px;">ADC Value is {ADC_Value[0]}</p>
    <p style="font-size: 20px;">ADC % is {ADC_Value[1]}</p>

    <form action="./pumpon" style="display: flex; justify-content: center;">
        <input type="submit" value="Pump on" style="font-size: 40px;" />
    </form>
    <form action="./pumpoff" style="display: flex; justify-content: center;">
        <input type="submit" value="Pump off" style="font-size: 40px;" />
    </form>

    <h1>Numeric Form</h1>
    <form method=POST action="/usrval">
        <label for="value">Enter a numeric value:</label><br>
        <input type="number" id="value" name="value" required><br><br>
        <input type="submit" value="Submit">
    </form>
    <p>User value: {user_value}</p>  <!-- Display the user-submitted value -->
</body>
</html>


            """
    return str(html)
def serve(connection):
    #Start a web server
    state = 'OFF'
    pico_led.off()
    temperature = 0
    user_value = None  # Variable to store the user-submitted value
    while True:
        client = connection.accept()[0]
        request = client.recv(1024)
        request = str(request)
        rqst1 = request.split()
        '''
        for x1 in rqst1:
            if(x1.find("usrval") != -1):
                print(rqst1)
                #print(x1)
        #print(rqstfind)
        '''
        try:

            for x1 in rqst1:
                if "value=" in x1:
                    user_value = x1.split("=")[2].strip("'")
                    print(user_value)
        except:
            pass

        try:
            request = request.split()[1]
        except IndexError:
            pass
        if request == '/lighton?':
            pico_led.on()
            state = 'ON'
        elif request =='/lightoff?':
            pico_led.off()
            state = 'OFF'
        elif request =='/pumpon?':
            #pin9.on()
            gen_pwm(10,10000)
            print("\n\n"+request)
            #state = 'OFF'
        elif request =='/pumpoff?':
            #pin9.off()
            print("Pump OFF")
        elif request == '/usrval':
          #  print("\n\n"+request)
            index = request.find('value=')

            if index != -1:
                end_index = request.find(' ', index)
                if end_index == -1:
                    end_index = len(request)
                user_value = request[index + len('value='):end_index]
                print(f"\n\nValue: \t {user_value}\n\n")
        temperature = pico_temp_sensor.temp
        html = webpage(temperature, state,user_value)
        client.send(html)
        client.close()

try:
    ip = connect()
    connection = open_socket(ip)
    serve(connection)
except KeyboardInterrupt:
    machine.reset()